No Brake Pressure After Changing Calipers – Why & How To Fix It?
When changing calipers on a vehicle, it is not uncommon to experience issues with brake pressure. Your car’s brakes are one of its most crucial safety features. Therefore, any problems with them need to be fixed right away.
We understand that no brake pressure after changing calipers can be irritating as well as hazardous. Since it may make it difficult or impossible to stop the car safely. As a result, you can’t even take your vehicle out of your garage. Well, that’s what we are here for today.
In this article, you will learn about the possible reasons behind a failing brake pressure after changing calipers and their fixes.
Why There Is No Brake Pressure After Changing Calipers?- With Solutions
When it comes to no brake pressure after changing calipers, there are two reasons behind it. They are;
- Air got inside the brake lines after changing the calipers
- Leaky or malfunctioning master cylinder
The air in the brake line can be taken out through the process of bleeding the brakes. On the other hand, a malfunctioning or leaky master cylinder might need to be replaced.
Now that you know what’s causing you this problem and the solution for that, in short. Let’s take a look at an in-depth version of the problem and solution. You will be able to fix the issue and implement the solution on your own by following our guide.
Reason 1: Air Inside The Brake Lines
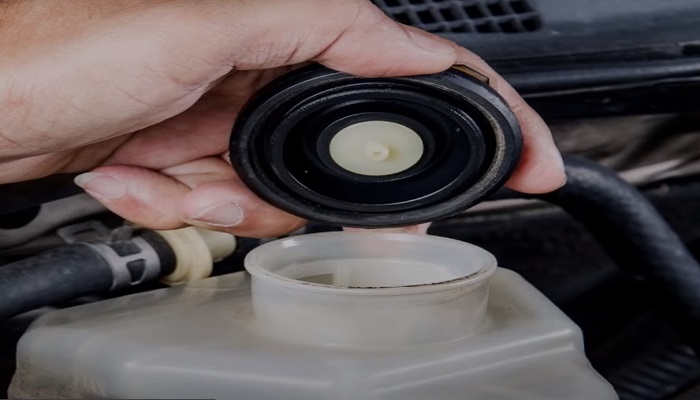
If the brake fluid reservoir is not filled to the right level or the bleeder valve is not closed tightly enough, air may enter the brake line. Especially when replacing parts such as calipers, this can happen easily.
This is because braking fluid is not compressible, whereas air is. The air in the brake lines compresses as the brake pedal is depressed, which lessens the force applied to the braking calipers.
As a result, the brake’s efficiency decreases, so applying the brake produces no brake pressure.
On the other hand, air getting into the brake system is not limited to changing calipers only. There could be potential leaks inside the brake system by any means and has to be addressed.
How To Fix
The most effective way to get the air out through the brake system is by brake bleeding. This process involves removing air bubbles from the brake lines by pumping the air out along with the old fluid in the brake system.
For now, we are going to talk about the two ways you can bleed your braking system. The first is using a brake bleeder kit (our pick), and the other is a complete DIY.
Read Also: No Brake Pressure after Bleeding – Whats The Causes & Fixes?
Way 1: Brake Bleeder Kit
A brake bleeder kit includes a vacuum pump, clear hose, and adapters that connect it to the brake calipers or wheel cylinders. With the kit, you can do the bleeding process alone, as no one has to pump the brake pedal manually. You have a vacuum pump for it.
Here are the steps you need to follow to remove air using a kit;
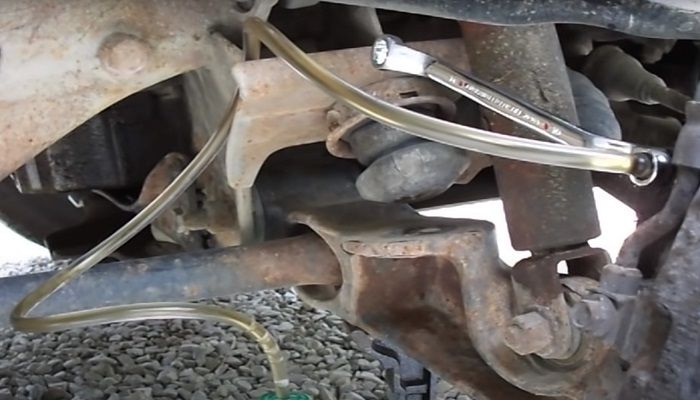
- Step 1: Locate the brake bleeder valve on the caliper or wheel cylinder of the brake you want to bleed.
- Step 2: By placing the hose’s end into the valve, attach the other end to the vacuum pump to the valve.
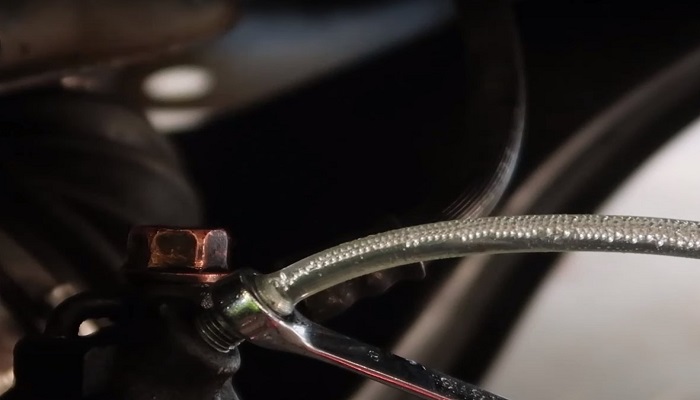
- Step 3: With a wrench, turn the bleeder valve anti-clockwise.
- Step 4: Turn on the vacuum pump and let it run for a while until no more air bubbles are visible in the clear hose.
- Step 5: Turn the bleeder valve clockwise to close it.
- Step 6: Repeat this process for each caliper until all of the fluid has been bled.
Here’s a video that will help you visually understand brake bleeding with a kit;
Way 2: Manual Bleeding
For manual bleeding, you will need assistance. As you will not be using the kit, someone has to be constantly there at the brake pedal. You will need a wrench, a hose, and a bucket. Here’s the step-by-step process;
- Step 1: Get hold of a bucket and a wrench along with your bleeder kit.
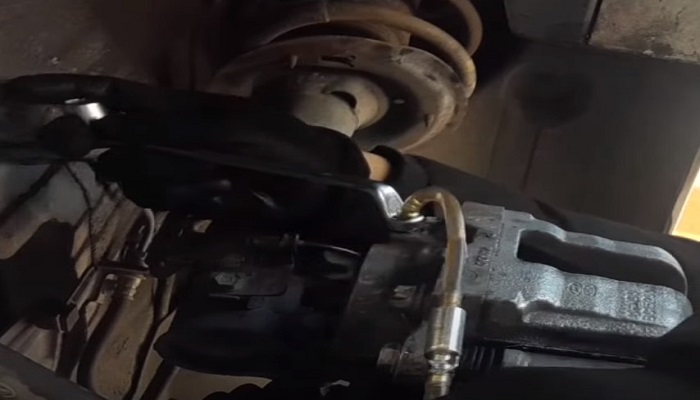
- Step 2: Locate the brake caliper or wheel cylinder, which is usually found on the rotor and retains the brake pads.
- Step 3: Wherever you will be bleeding the brakes, take the wheel off the drum brake cylinder or brake caliper. This is to allow the brake fluid to flow freely and remove any air bubbles that may have accumulated in the system
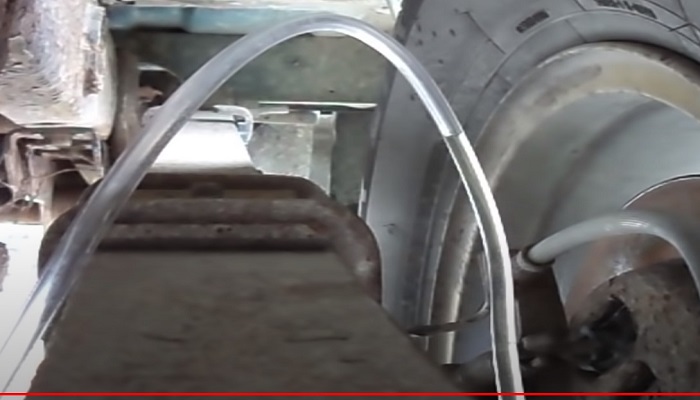
- Step 4: Connect one side of the hose to the bleeder valve and the other side to the bucket.
- Step 5: Have a helper slowly press down and hold pressure on the brake pedal.
- Step 6: While your helper is holding the pedal, use a wrench to loosen the bleeder valve by turning it counterclockwise. The contaminated fluid shall flow through the hose to the bucket.
- Step 7: Tighten the bleeder valve by turning it clockwise right before your helper releases the brake pedal.
- Step 8: Repeat step 5, 6, and 7 till all the contaminated fluid is out, and clean fluid is seen. Do it for each wheel.
- Step 9: Once you see clean fluid through the clear hose, this indicates that all of the old fluid and air have been removed from the system. So now it is safe to pour clean fluid into the master cylinder reservoir.
Read Also: Brake Pedal Goes to Floor after Bleeding – Why & How To Fix?
Reason 2: Leaky Or Malfunctioning Master Cylinder
It’s crucial to check the master cylinder’s functionality before upgrading the calipers on a vehicle. It’s because brake pressure loss may occur if the master cylinder has a leak or is damaged.
Without the master cylinder, the braking system is worthless since it produces the hydraulic pressure needed to apply force to the brake shoes. Thus, this pressure cannot be maintained, and the brakes will not work properly if there is a leak in the master cylinder.
However, there are other symptoms with a non-functioning master cylinder that might help you confirm;
- Consistently low brake fluid level
- Soft brake pedal
- Delayed brake
How To Fix
You need to replace the master cylinder to get it back to working condition. Here’s how you can replace it;
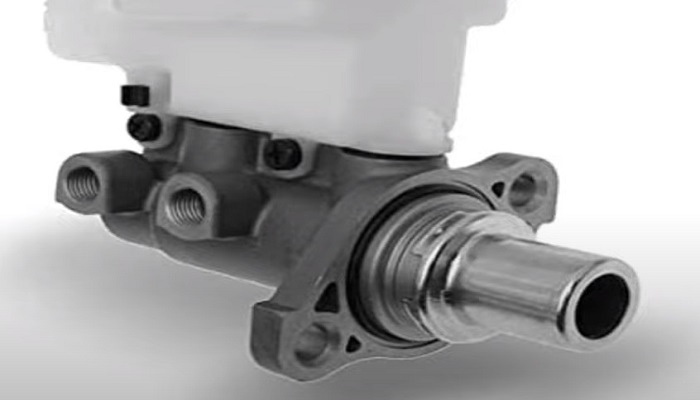
- Step 1: Locate the master cylinder on the driver’s side of the engine compartment near the brake booster. Here’s an image to give you a visual;
- Step 2: Disconnect the brake lines from the master cylinder using a wrench.
- Step 3: The master cylinder should be taken out after removing any mounting bolts or clips.
- Step 4: After positioning the new master cylinder, connect it using the mounting bolts or clips that you just removed.
- Step 5: Reconnect the brake lines to the new master cylinder using a wrench.
- Step 6: You have to bleed the brake system. Check out the guide mentioned above for that.
Read Also: No Brake Pressure When Car Is Running – How To Fix?
FAQs
Let’s check out some commonly asked questions regarding this topic.
Can I Drive My Car With No Brake Pressure After Changing The Calipers?
It is never advised to operate a car with a malfunctioning brake. Accidents are likely to happen since you won’t be able to brake precisely.
How Long Does It Take To Bleed Brakes After Changing Calipers?
The bleeding brake time depends on various factors, such as your vehicle model. However, the average time for bleeding brakes would be an hour.
Can I Reuse Old Brake Fluid When Changing Calipers?
It’s not recommended to reuse old brake fluid when changing calipers. There might be air present in that fluid, which would eventually cause a lot of trouble, such as a spongy brake.
Conclusion
To conclude, there are only two reasons behind the no brake pressure after changing calipers. Either air has got inside the brake fluid, or it’s just the malfunctioning master cylinder. Whatever the reason might be, the problem should be addressed immediately.
Moreover, you shouldn’t take your vehicle out while you are facing problems with the brakes. However, if all of these look too complicated for you, it’s best to call a professional for help.

Meet Zayan, the mechanical genius behind the highly acclaimed brakes problems and solutions website. With over a decade of hands-on experience in the automotive industry, Zayan has become a trusted authority in the realm of brake systems.
His passion for cars, coupled with his expertise in solving complex brake-related issues, has earned him a devoted following of car enthusiasts, mechanics, and everyday drivers seeking reliable guidance.