How To Free a Stuck Brake Caliper Piston?(11 Steps Guide)
Brake caliper piston is a braking component (located in the caliper) that utilizes hydraulic fluid pressure and pushes the brake pads against the rotors to create friction and slow down or stop the vehicle.
If your brake caliper piston is stuck, don’t panic – it’s a very common issue. After describing the symptoms and possible reasons, I’ll explain how to free a stuck brake caliper piston step by step.
Follow the steps as I describe, and you’ll be able to fix your stuck brake caliper piston. That being said, let’s get started.

Symptoms Of Brake Caliper Piston Getting Stuck
You indeed got a few indications that your brake caliper piston might be stuck. To make sure whether or not your caliper pistons are stuck, check out these common symptoms:
- Uneven Braking: If one wheel is braking more than others, it could be a sign of a stuck caliper piston.
- Car Pulling To One Side: As the pistons won’t squeeze properly (getting back to the caliper), you’ll notice your car going sideways as one front wheel rotates less than the other.
- Abnormal Noise: You may encounter abnormal noise coming from your brake system.
- Overheating: A stuck brake caliper piston can cause the brakes to overheat, often producing a distinctive acrid smell and even smoke.
- Uneven Brake Pad Wear: It’s common to have wear and tear on the brake pads. But, if it’s uneven – your brake caliper piston might be sticking.
- Car Is Stuck: The car won’t move at all. (Rare Case)
If you get these symptoms, head over to the next sections to find out why this happened and how to fix this stuck brake caliper issue.
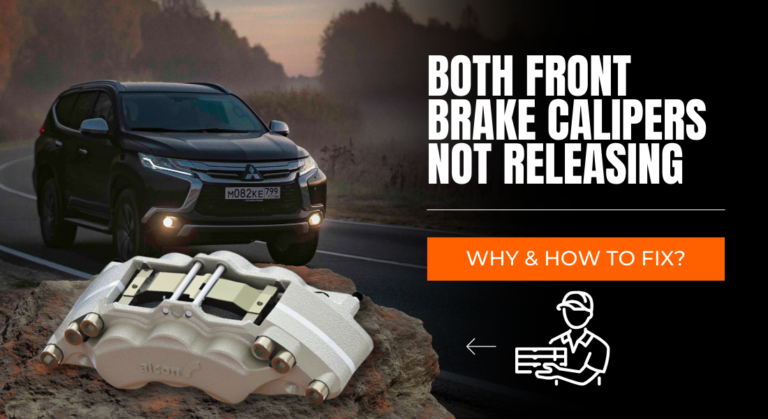
Read Also: Both Front Brake Calipers Not Releasing – Why & How To Fix?
Possible Reasons For Brake Caliper Piston Sticking
There are many possible reasons behind the sticking caliper piston. Here are the most common reasons –
- Inactivity: If you keep your car idle for a long time, especially outside, your brake caliper piston can become stuck.
- Corrosion: In damp climates or areas with high humidity, corrosion can develop on the brake caliper components and cause the pistons to stick.
In the next section, I’ll explain how you can eliminate this problem.
How To Free a Stuck Brake Caliper Piston? 11 Steps Guide
Before starting the guide, you need to know some basic stuff.
There are four types of brake calipers – Single Piston, Dual Piston, 4-Piston & 6-Piston. You can apply the method discussed in this article to every caliper type.
Though various methods are available for fixing stuck brake caliper pistons, the air compressor method is the neatest. That’s why I’ll explain this in this article.
However, you need to separate the caliper to perform the operation.
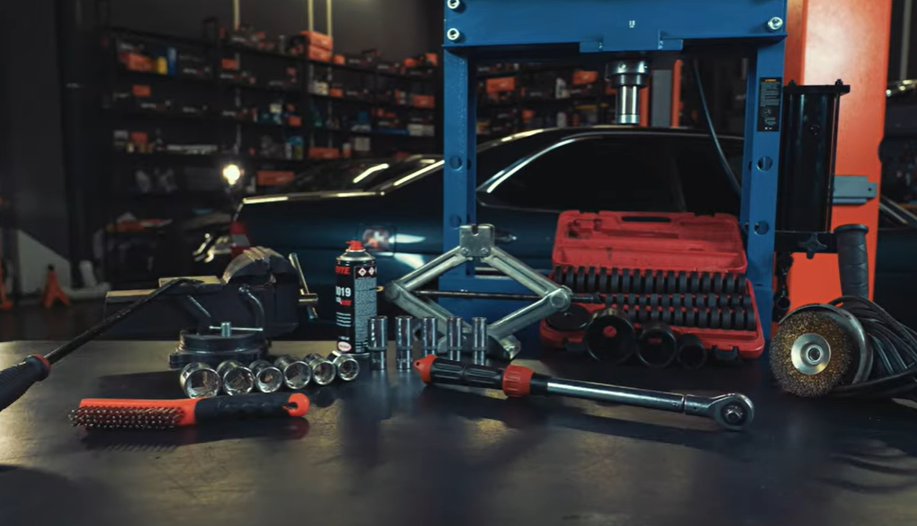
Things You’ll Need:
- 120PSI Air Compressor
- Safety glasses
- Hammer
- C clamp (2 or more)
- Plywood / Shims
- Pair of Pliers
- Adapter (crafted from an old brake hose and plumbing adapter)
Assuming you’ve all the required tools, let’s continue with the steps.
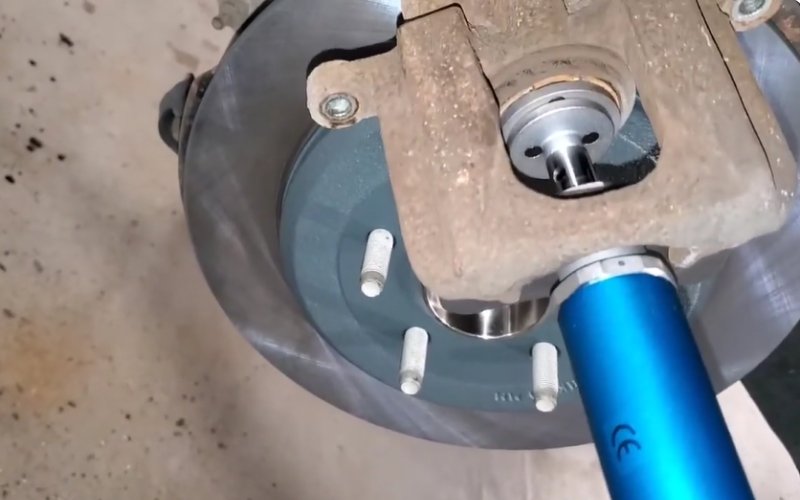
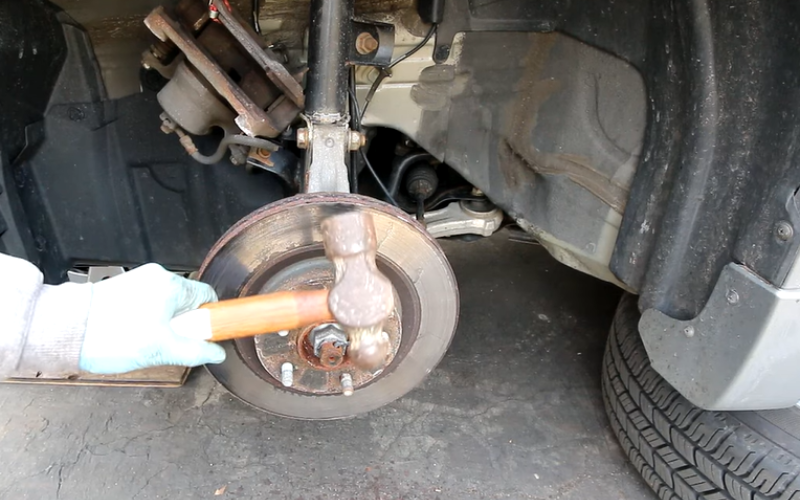
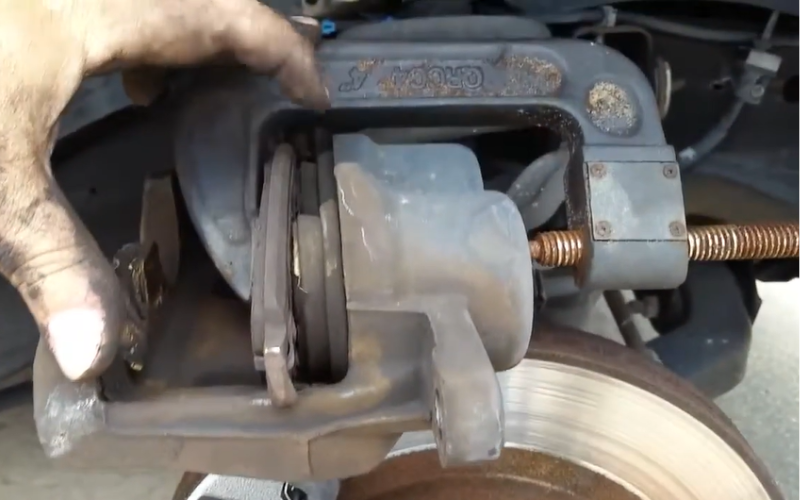
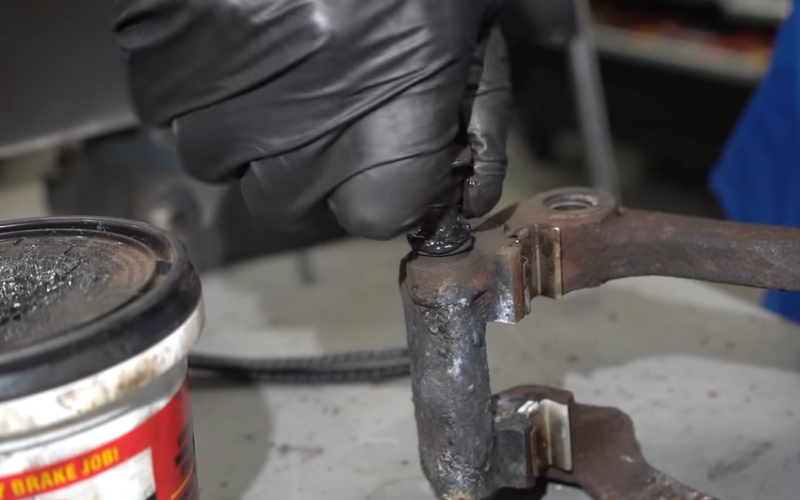
Step 1: Gently Remove the Caliper
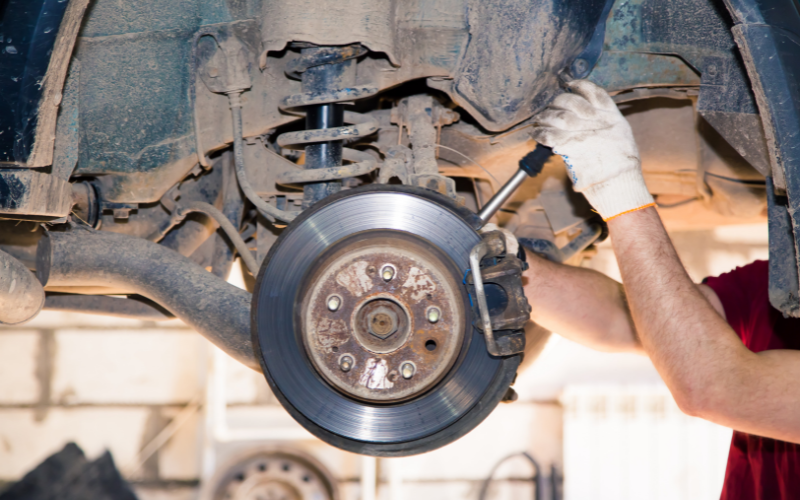
First, remove the caliper from the car. Follow these steps to remove the brake caliper from your car:
- Step 1: Lift the car using a jack and secure it with a jack stand.
- Step 2: Loosen the lug nuts and take off the wheel.
- Step 3: Remove the caliper mounting bolts
- Step 4: Gently remove the caliper after removing the bolts.
After removing the caliper, follow the next step.
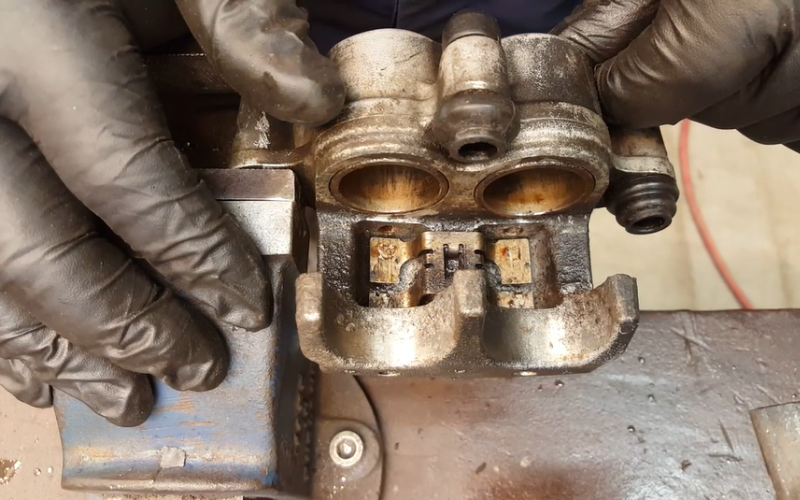
Step 2: Build The Proper System For Freeing The Caliper Pistons
It’s time to set up the system to fix the stuck caliper pistons. Whether your calipers have 4-pistons or 6-pistons, add an adapter to the caliper, which will be used to deploy air pressure into the caliper.
After setting the adapter (hose), connect the air compressor to the hose and let it stay aside.
Later on, keep a plywood in the middle of the caliper and place two shims beside the plywood (one brake shim per side).
These shims & plywood will prevent the pistons from shooting out completely when you apply air pressure through the hose/adapter.
Step 3: Deploy Air Pressure and Monitor The Progress
After setting up the system, turn on the air compressor and gradually increase the pressure.
Examine the progress with the rise of air pressure.
Hint: Look for a movement of the pistons.
Step 4: If Progress is Limited, Use a Hammer For Gentle Taps
If you find there are no piston movements at all, it’s time to use the hammer.
Tap on the caliper (in the piston’s opposite direction) a few times and use the air compressor again.
You should notice some movement in the pistons now.
Step 5: Use C-Clamp For Further Progress
For further improvement, you have to use a c-clamp. Place the c-clamp facing the piston and push the pistons inside the caliper.
It might sound odd as we’re trying to remove the piston from the caliper – but trust me, it will work. When you’re pushing the pistons backward, it will eliminate the corrosion inside the pistons and it will accelerate the movement when applying air pressure again.
Caution: While pushing the pistons backward, fluid will come out through the adapter. So, take a little container and place the adapter inside the container while pushing the pistons backward.
Step 6: Use Air Pressure Again
After using the c-clamp and hammer, apply air pressure again. You can apply air pressure in various styles or ways.
One of my favorite ways is shooting 120 PSI at once for 1 or 2 seconds. It will create a very high pressure inside the caliper and pressurize the pistons to shoot out.
While doing it, you must secure the pistons with plywood and brake shims.
Step 7: Lock The Free Pistons
If you find one of the pistons came out completely (almost), lock it with a c-clamp.
You have to lock it as the freed pistons will come out instantly, release the air pressure and prevent other pistons from coming out.
So, you’re basically trapping the air pressure by locking the freed piston. Doing this will give the stuck pistons more air pressure and they will eventually move out too.
Step 8: Observe the Initial Movement
After much hard work, you’ll find one or two pistons are moving freely (they also need to be locked up with plywood or c-clamp).
Once one or two pistons move back and forth freely, you’ll have to re-do all the previous steps repeatedly until every piston moves freely.
Step 9: Use Penetrant and Scotch Brite If Needed
Some pistons may not move freely even after working for 30-40 minutes. In that case, you can use some penetrant by spraying through the adapter. It will help the pistons to be lubricated.
You can also use a scotch brite to clean the outer border of the caliper holding the pistons. This small gesture also helps a lot.
Step 10: Gently Remove The Pistons From The Caliper
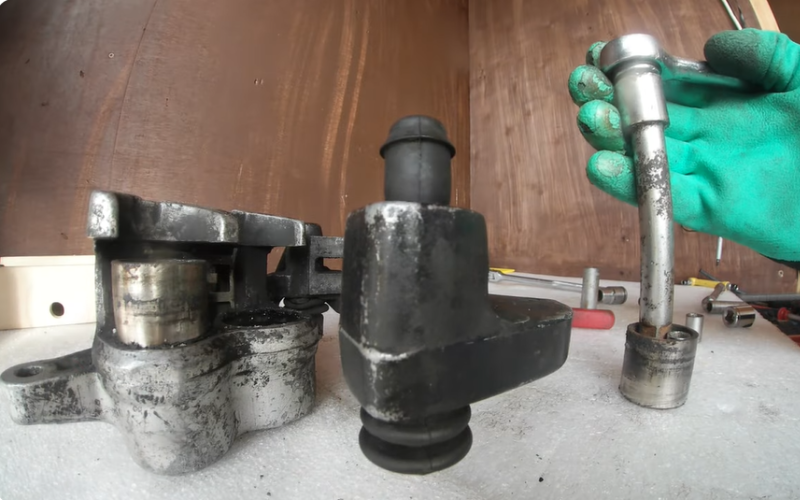
After doing all these works continuously, you should be at a point where all the pistons move freely.
It’s time to remove all the pistons one by one, and you can use a pair of pliers for this job.
Be careful while doing this job, and don’t pull the pistons by grabbing the copper part of the pistons – it will damage them.
Gently grab the pistons by the other metal part of the pistons and take them out one by one.
Step 11: Clean and Reinstall The Pistons
Properly polish the pistons and reinstall them properly. That’s it! You have fixed the stuck brake caliper piston issue completely.
Note: If you’re unable to perform any of the steps mentioned above, consult an expert as soon as possible
How To Prevent Brake Caliper Piston From Sticking?
It’s common to have issues like sticking pistons if the car remains idle for a long time.
Here are some of the things you can do to prevent the brake caliper piston from sticking –
- Regular Maintenance: Lubricate all the caliper components properly and regularly.
- Avoid Damp Environments: Even if you’re keeping your car idle for a long time, try keeping it inside the garage instead of outside if the humidity level is high or very high.
Read Also: No Brake Pressure After Changing Calipers – Why & How To Fix It?
Conclusion
I hope this article was helpful enough in showing you how to free a stuck brake caliper piston. I have explained every step in detail so you can avoid losing yourself while following the steps.
If you still find it difficult or unable to fix your stuck brake caliper piston – don’t take it to heart and consult an expert.

Meet Zayan, the mechanical genius behind the highly acclaimed brakes problems and solutions website. With over a decade of hands-on experience in the automotive industry, Zayan has become a trusted authority in the realm of brake systems.
His passion for cars, coupled with his expertise in solving complex brake-related issues, has earned him a devoted following of car enthusiasts, mechanics, and everyday drivers seeking reliable guidance.