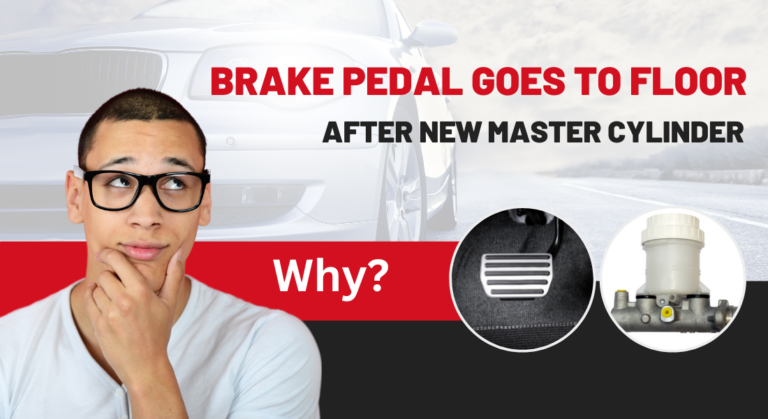
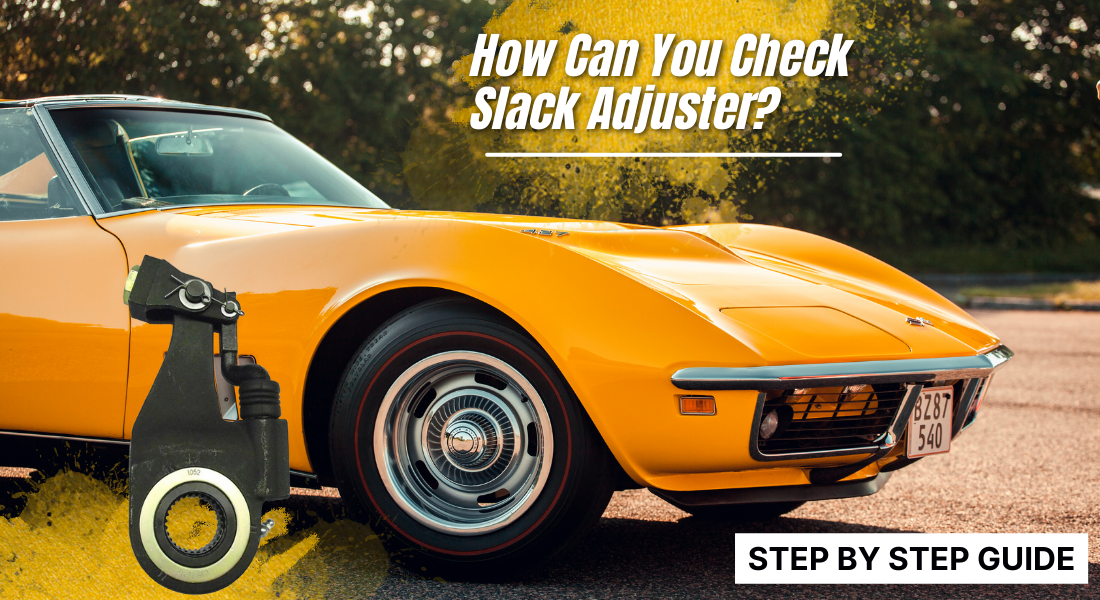
How Can You Check Slack Adjuster? (Step by Step Guide)
Heavy vehicles, such as Buses, Trucks, and Semi-Trucks, require more braking energy. That’s why their brake system (Air Brake and drum Brake) is equipped with a slack adjuster. Slack adjuster helps in many ways, including keeping clearance between the brake shoes/pads from the drum.
There are two types of slack adjusters – manual and automatic. The manual slack adjuster must be adjusted every 10,000 miles, whereas the automatic one adjusts itself automatically. But, frequent checks should be done to both slack adjuster types.
If you’re having unusual braking performance, checking the slack adjusters is always a good idea. In this article, I’ll show you how you can check slack adjuster step-by-step.
Purpose of a Slack Adjuster – How Does it Work?

The primary objective of a slack adjuster is to separate and keep proper distance between the brake shoes (or brake pads) and the brake drum. By automatically/manually adjusting this gap – slack adjusters ensure that the brakes remain responsive and effective, compensating for wear and tear.
Other purpose of a slack adjuster includes –
- Conversion of Motion: Modern slack adjusters convert the push rod’s forward linear motion into the camshaft’s rotary motion. This conversion mechanism is essential for the proper engagement of the brake system.
- Force Generation: Slack adjusters also work as a lever that amplifies the force generated by the push rod and applies it to the brake shoes or brake discs.
First, Determine Slack Adjuster Type: Is it Manual or Automatic?
There are mainly two types of adjusters, and they are – manual and automatic slack adjuster. It’s important to determine your adjuster type before checking or trying to adjust it.
The only way to judge the slack adjuster from the outside is by the model number and year of manufacture. Here’s how you can read a slack adjuster’s model number and date of manufacture:
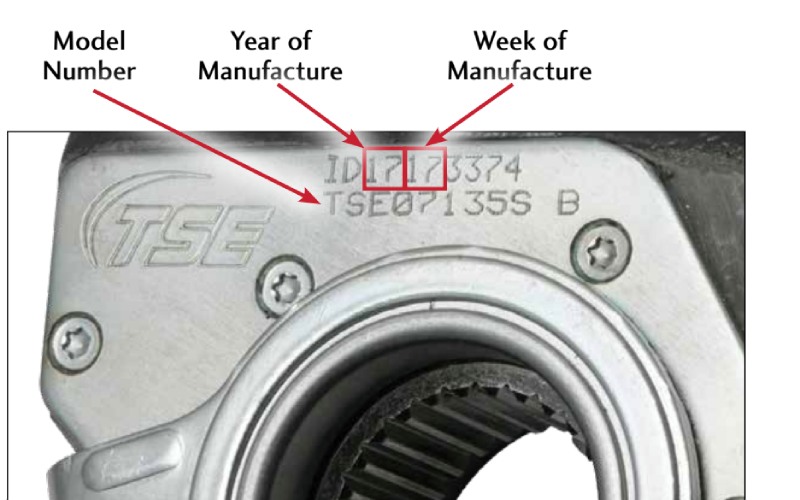
Source: TSE
If you notice the year of manufacture is after 1994, then there’s a high chance that your slack adjuster is an automatic one. Automatic slack adjusters (ASAs) have become a mandate for trucks and tractors since 1994 and trailers since 1995.
5 Major Symptoms of a Bad Slack Adjuster
Your vehicle’s braking performance will decline if the slack adjuster is not working correctly due to loosening or becoming faulty. Here are five major symptoms of a bad slack adjuster:
- Poor Braking Performance: You’ll feel something is wrong with the brake and it will be very obvious.
- Uneven Braking: A bad slack adjuster can cause uneven braking, as one wheel locks up before the others. This can cause the vehicle to pull to one side during braking.
- Unusual Brake Pad Wear: If the slack adjuster is not working correctly and the brake pads are in constant contact with the drums, it will cause faster and unusual brake pad wear.
- Unexpected Stoppage: Due to a faulty slack adjuster, brakes do not release properly and cause the vehicle to slow down or stop unexpectedly.
- Irritating Noisy Brake: A bad slack adjuster can cause noisy brakes during operation.
If you’re getting some of the symptoms mentioned above, your slack adjuster might need some adjustment. Because, it’s very rare for a slack adjuster to become faulty.
Follow the next section of this article to know how to determine whether you’ve a faulty slack adjuster or it just needs some adjustment.
How To Check Slack Adjuster? 4 Steps Guide
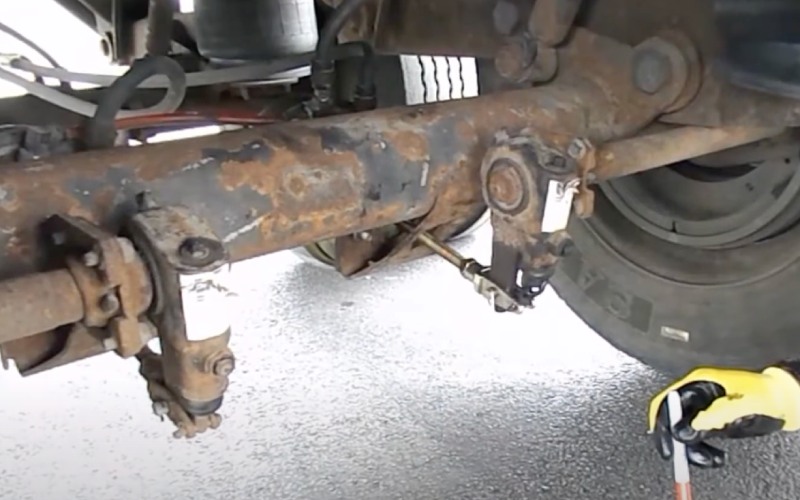
Source: YouTube
The checkup procedure of an automatic slack adjuster and a manual slack adjuster is the same. But, the difference lies in adjusting them.
You can easily adjust/fix the manual slack adjuster, whereas it’s not recommended by most manufacturers that you keep the automatic slack adjuster the same.
Before getting to the step-by-step guide, make sure you have these things with you:
- Safety Glasses
- A Marker
- Owner Manual
Let’s get started with the guide –
Step 1: Park Your Vehicle On Level Ground & Chock The Wheel
You must park your truck or vehicle on a level ground. If you park on uneven ground, your car might gain motion, and a severe accident can happen when you’re under the vehicle.
After parking on a level ground, you should use a chock for additional safety.
Step 2: Put The Transmission in Low Gear & Turn Off the Engine
Putting the transmission in low gear will prevent the truck from moving while you are underneath it, reducing the risk of accidents.
Afterward, turn off the engine and put the key in your pocket.
Step 3: Push and Release Parking Brake & Trailer Emergency Brake

For a final safety caution, release the parking brake of your vehicle. If your vehicle has a trailer, release the emergency brake as well.
Step 4: Free Play Test – Take the Marker and crawl Underneath the Vehicle

Depending on your vehicle type, the location of your slack adjuster might vary. Get help from your car’s owner’s manual to locate it properly.
Crawl underneath the vehicle and mark the push rod. Pull the slack adjuster and measure the free play. The free play should not be more than 1 inch.
Conclusion Point: If you find the free play is more than 1 inch, it should be adjusted for better performance.
How To Adjust a Slack Adjuster? 3 Steps Guide
If you’re getting more than 1 inch of free play while pulling the slack adjuster, you should adjust that.
Caution: It’s not recommended for the automatic slack adjuster to make any changes by the owner. Consult any nearby technician for further assistance.
Things you’ll need to adjust a slack adjuster:
- Half-inch Ratchet with a 7/16″ Six Point Socket
- A Grease Gun (Optional)
Here’s how you can adjust your slack adjuster:
- Step 1: Locate the adjusting bolt of your slack adjuster
- Step 2: Use the ratchet and tighten the nut one full turn to the right and half turn left if needed.
- Step 3: Additionally, you can use a grease gun for enhanced lubrication and brake performance.
Things To Consider While Checking Slack Adjuster
Checking a slack adjuster is a challenging job. That’s why considering these things below while checking the slack adjuster is always necessary:
- Safety First: Never crawl underneath your vehicle without turning off the engine, putting the transmission in low gear & parking it on ground level.
- Adjust The Slack Adjuster Properly: Don’t over-tighten your slack adjuster; this might cause your adjuster to reduce/worsen the brake performance.
- Use Proper Tools: While adjusting the bolt, get a Half-inch Ratchet with a 7/16″ Six Point Socket.
That’s it. Also, remember to wear safety glasses while checking your slack adjuster.
Conclusion
I hope this article was helpful enough in informing you how to check a slack adjuster. You can easily check your slack adjuster without issues if you follow the steps above.
If you have a manual slack adjuster, consider adjusting it on your own. However, if you have an automatic slack adjuster, adjusting it won’t help much (it can even break it if you try). It’s better to consult an expert technician in this case.

Meet Zayan, the mechanical genius behind the highly acclaimed brakes problems and solutions website. With over a decade of hands-on experience in the automotive industry, Zayan has become a trusted authority in the realm of brake systems.
His passion for cars, coupled with his expertise in solving complex brake-related issues, has earned him a devoted following of car enthusiasts, mechanics, and everyday drivers seeking reliable guidance.